Blog
Have you ever struggled to screw in a light bulb, found that a new bulb wouldn’t turn on, or noticed a brand-new bulb burning out far too quickly? Light bulb installation seems simple, but common mistakes can be frustrating, wasteful, and time-consuming.
This article will break down the most frequent problems encountered during light bulb installation and provide simple, clear solutions to ensure your home or workspace enjoys long-lasting, stable, and safe illumination!

I. Bulb Not Lighting Up? Start with the Basics!
If a new bulb fails to light up, don’t immediately blame the bulb quality. The issue is usually found in the foundational steps.1. Check if the Power is Disconnected
Safety First! Before performing any maintenance or installation on a light fixture, you must turn off the corresponding power switch, and ideally, shut off power at the circuit breaker to prevent electric shock.2. Verify Bulb and Socket Compatibility
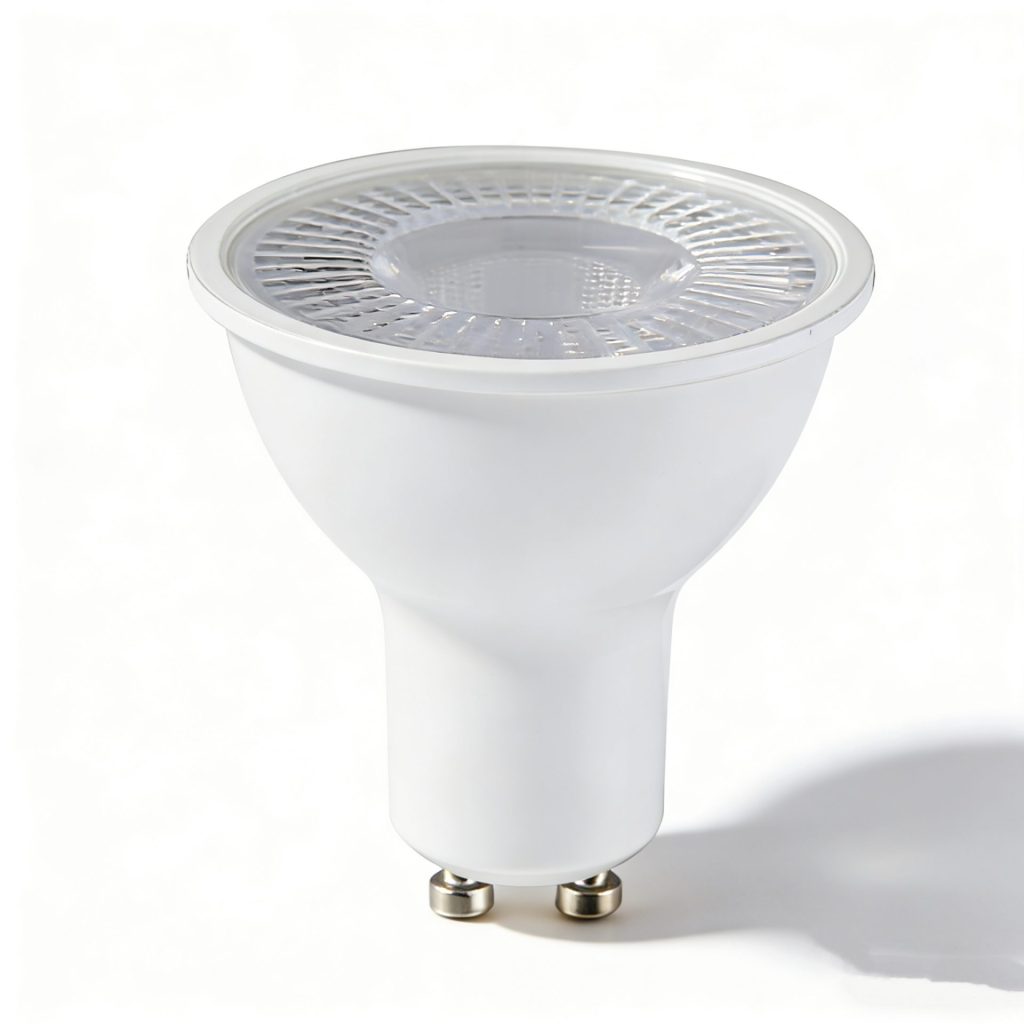
• Mismatched Base Type: This is the most common issue. For example, you might have purchased an E27 (large screw) bulb when your socket requires an E14 (small screw), or vice versa. Always check the base type required by your fixture (such as E26/E27 screw-in, GU10 twist-lock, B22 bayonet, etc.). • Mismatched Wattage or Voltage: Fixtures usually state the maximum allowable wattage. If the new bulb exceeds this limit, it may trigger overheating protection or even damage the fixture. The voltage must also match your local standard (e.g., 110V or 220V).3. Inspect the Metal Tab Inside the Socket
In sockets used for a long time, the bottom metal contact tab (or center conductor) may become flattened due to pressure or corrosion, preventing proper connection with the contact point on the bulb’s base. • Solution: After absolutely ensuring the power is cut off, use a flat-head screwdriver or a small tool to carefully and gently pry or bend the metal tab at the bottom of the socket upward slightly to ensure good contact.II. Bulb Won’t Screw In Completely or Gets Stuck
Have you ever had a bulb stop halfway or simply refuse to thread into the socket?1. Incorrect Insertion Angle
If you start screwing the bulb in at a tilted angle, it’s easy to cross-thread the socket, making it impossible to screw in completely and potentially damaging the socket threads. • Solution: Ensure the bulb is vertically aligned with the socket. Apply gentle, even pressure, and slowly rotate it in the direction of the threading.2. Broken Base Stuck in the Socket
When an old bulb burns out, the glass part may sometimes separate from the metal base, leaving the base remnant stuck inside the socket. • Solution: 1. CUT THE POWER! 2. Wear insulated gloves and safety glasses. 3. Use an insulated tool, such as needle-nose pliers (if there is enough space), to grip the edge of the remaining metal base and rotate it counter-clockwise to remove it. 4. If the remnant is hard to reach, you can use a raw potato (cut and inserted into the base) or a specialized broken bulb extractor tool. Do not use your fingers!3. Rusty or Clogged Threads
In damp environments or with long-overdue replacements, the socket threads might have minor rust or dust accumulation. • Solution: Clean the socket interior. While power is off, wipe away dust with a cloth or cotton swab. If necessary, you can apply a tiny amount of electrical-grade lubricant or dielectric grease to the metal threads of the bulb to help it screw in smoothly (but be careful not to over-apply).III. New Bulb Burns Out Quickly or Flickers Frequently
A new bulb failing prematurely usually indicates a deeper issue that could affect your electrical safety and energy efficiency.1. Over-tightening
Many people think the tighter the bulb, the better. However, over-tightening puts excessive stress on the bulb base and the socket contacts, which can damage the bulb’s solder points, drastically shortening the bulb’s lifespan or causing immediate failure. • Solution: Only snug the bulb gently until it makes good contact and lights up. Avoid using excessive force.2. Unstable Voltage or Current
If your home’s electrical circuit experiences voltage instability (Voltage Spikes/Surges) or current fluctuations, it will repeatedly shock the bulb (especially LEDs and incandescents), causing them to fail prematurely. • Solution: If multiple fixtures are experiencing this problem, it’s advisable to consult a professional electrician to check your household wiring and voltage stability.3. High Temperature or Poor Heat Dissipation
Heat dissipation is critical for LED bulbs. If a bulb is installed inside an enclosed fixture, or if the ambient temperature is too high, the built-up heat will rapidly damage the LED’s internal driver and chips, leading to early failure. • Solution: Use LED bulbs that are rated for enclosed fixtures, or choose fixtures with better heat dissipation designs.Conclusion
The key to solving light bulb installation problems lies in safety, patience, and matching. Ensure the power is off, check the type and condition of both the socket and the bulb, and install with the correct amount of force. By mastering these simple tips, you can easily banish the darkness and enjoy long-lasting, bright illumination! Would you like to learn more about smart bulb installation tips, or perhaps how to choose the most energy-efficient LED bulbs?
LED Bulb-4
Price range: 7,20 € through 10,00 €
LED Bulb-5
Price range: 1,60 € through 4,70 €